A few weeks ago I chatted about creating an instagram aesthetic and why that’s super important these days. On that same topic I wanted to chitchat today about editing your photos for instagram.
Everyone has their own method — I know a lot of bloggers that now swear by lightroom and are selling various presets.
Me? I’m super lazy. And cheap. I want photo editing to be as easy [and free] as possible. I’m always tweaking the vibe of my feed but here’s how I edit my photos for instagram these days:
Hack #1: Use Portrait Mode
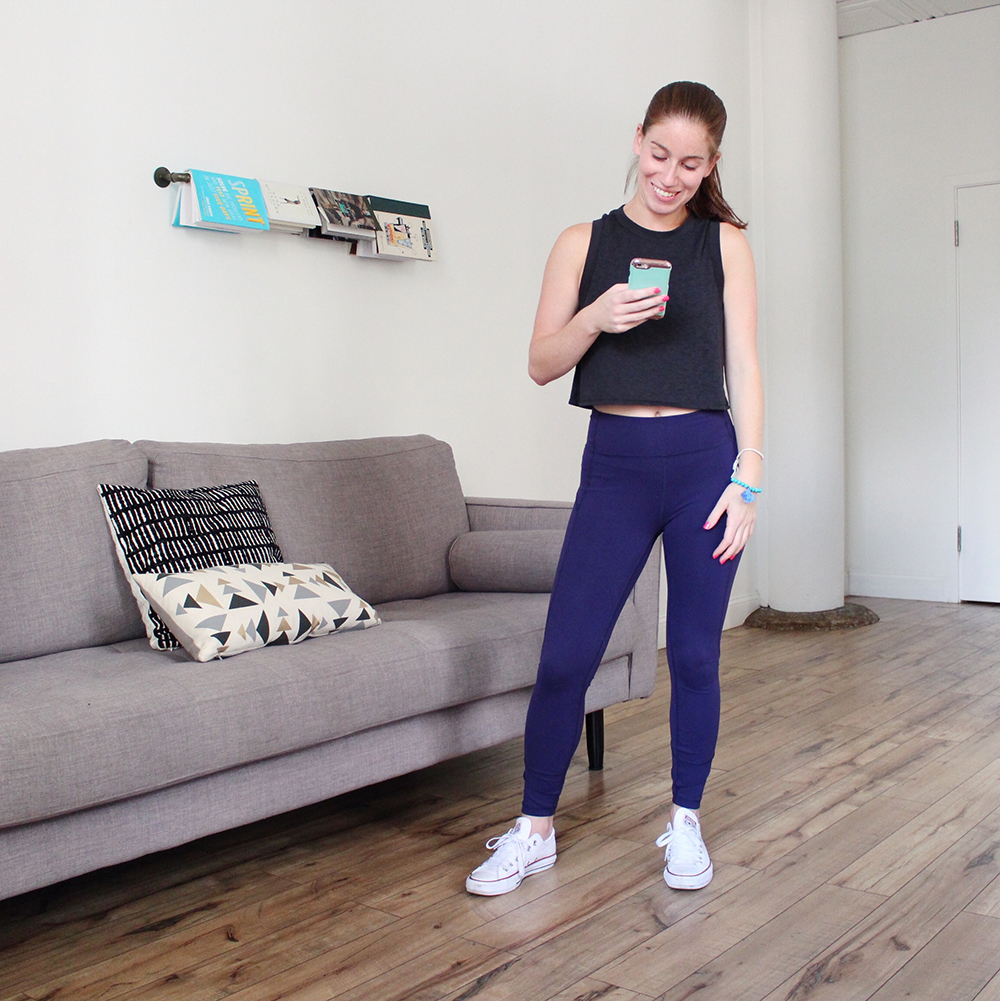
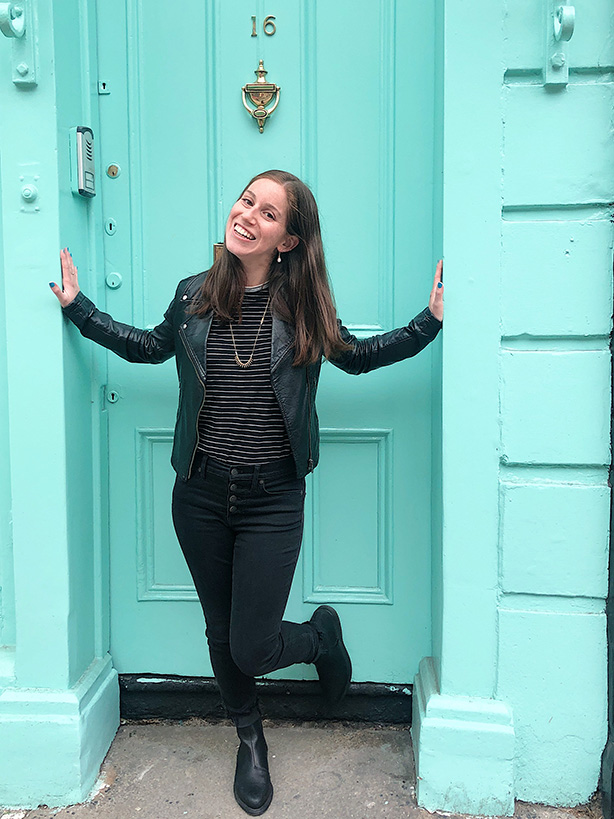
Okay, this one technically isn’t an editing hack, but it’s the first step! Most of the photos you’ll see on my instagram were shot in portrait mode on my iPhoneX.
I’d love to work with professional photographers all the time, but it’s not realistic for me right now. I don’t have the time with my schedule and I definitely don’t have the money with my current job situation…
SO, I make do with what I got! An iPhone and a willing boyfriend [or even sometimes my dad!]. I tell them exactly what needs to be photographed and help set them up for the shot. Then they shoot away in portrait mode on my phone. I joke that I’ve trained them well to take a million photos. It’s always the subtle ones where I’m naturally laughing or looking away from the camera that turn out the best.
Every so often I’ll bust out my DSLR camera, which I also adore, but half the time it’s just easier to use my phone. Bless up for phones having such high quality cameras these days.
Hack #2: Find Your Vibe in VSCO
I use VSCO to do all the major editing in my photos. It’s taken me a few years to figure out my exact “look” but now I have a predictable recipe I use. The exact levels of each really depends on the photo — I’ll play around with each until I find the right fit:
- Up the exposure: I like my photos to be super bright. Unless the photo is already super exposed, I up the exposure level a notch.
- Up the contrast: This makes the photo look more “bold.”
- Up the sharpness: This makes this really pop, especially when the photo is in portrait mode.
- Up the saturation: I usually only do this a teeny tiny bit to bring a bit more color into the photo
- Lower the temperature: This gives the photos a cooler, more blue hue,
- Up the tint: This makes the photo a tiny bit more pink
- Up the skin tone: Naturally my skin is super red — specially if I just worked out! This helps lessen the redness in my skin
As far as filters go, my favorite right now is AL1. It’s great for brightening both indoor and outdoor photos. I think this is one of those filters you have to pay for, but I’m really sure it’s only $6 to download forever.
[Pro-Tip:] On VSCO you can copy + paste edits from one photo to another. SUPER helpful if you’re editing a bunch of photos from the same shoot.
Hack #3: Add Some Flair in PicsArt
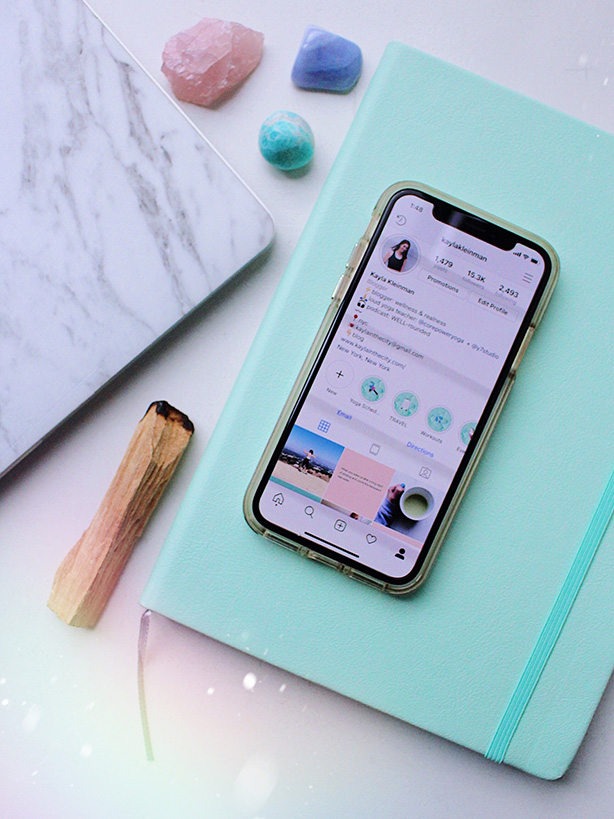
I’ve been really digging PicsArt lately as a way to add some extra pizazz [and rainbows 🌈😍 to my photos]. Like VSCO, this app is free to use and offers a ton of fun goodies.
My current favorites:
- the rainbow brush [go to brushes –> scroll until you see the one that looks like a rainbow]: I bump the thickness of this up all the way and just highlight one small section of the photo with a rainbow.
- the snow feature [I’m actually not sure if this is supposed to look like snow… but it’s adds a bunch of subtle circles]
There are also a TON of other fun brush features to spice up your photo.
Hack #4: Add the Final Touch in the actual Instagram App
Before actually pressing POST on instagram, I’ll do a few final tweaks in the actual Instagram app. Generally I bump up the brightness a touch and will maybe add the Claredon filter a teeny tiny bit.
✨
Your turn: What are your favorite hacks for editing your photos for instagram?

Thanks! I have been trying lightroom but don’t love it…maybe I will try VSCO next!
I need to play around with it more but I’ve found it super overwhelming 😂 I find VSCO a bit more user friendly